Chasing Starlight: Stunning Star Trail Photography Above Singapore's Mountainous Landscapes (Tips & Techniques)

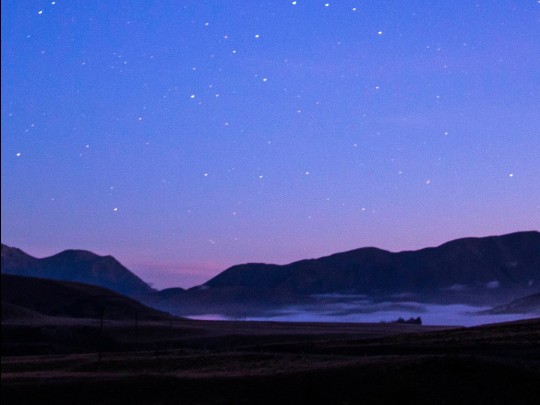
Singaporeans, are you ready to witness the universe in a whole new light? Star trail photography, the art of capturing the mesmerizing dance of stars across the night sky, is becoming increasingly popular here. Imagine this: majestic, snow-capped peaks (even if we have to travel slightly outside Singapore for that!) standing sentinel against a velvety dark sky, while trails of starlight swirl and weave their magical paths. It's a scene that evokes wonder and a profound sense of connection to the cosmos - and it’s a photographic goal within reach for anyone with a little dedication and the right know-how.
But creating truly breathtaking star trail images isn't as simple as pointing and shooting. It requires careful planning and a touch of patience. Let's dive into what you need to know to capture your own stunning star trail photographs, even with our city's light pollution challenges.
Finding Your Dark Sky Spot
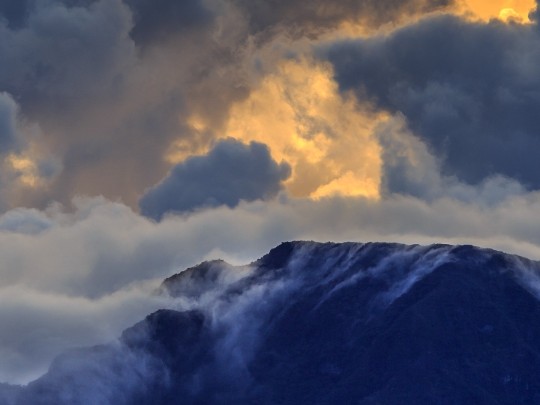
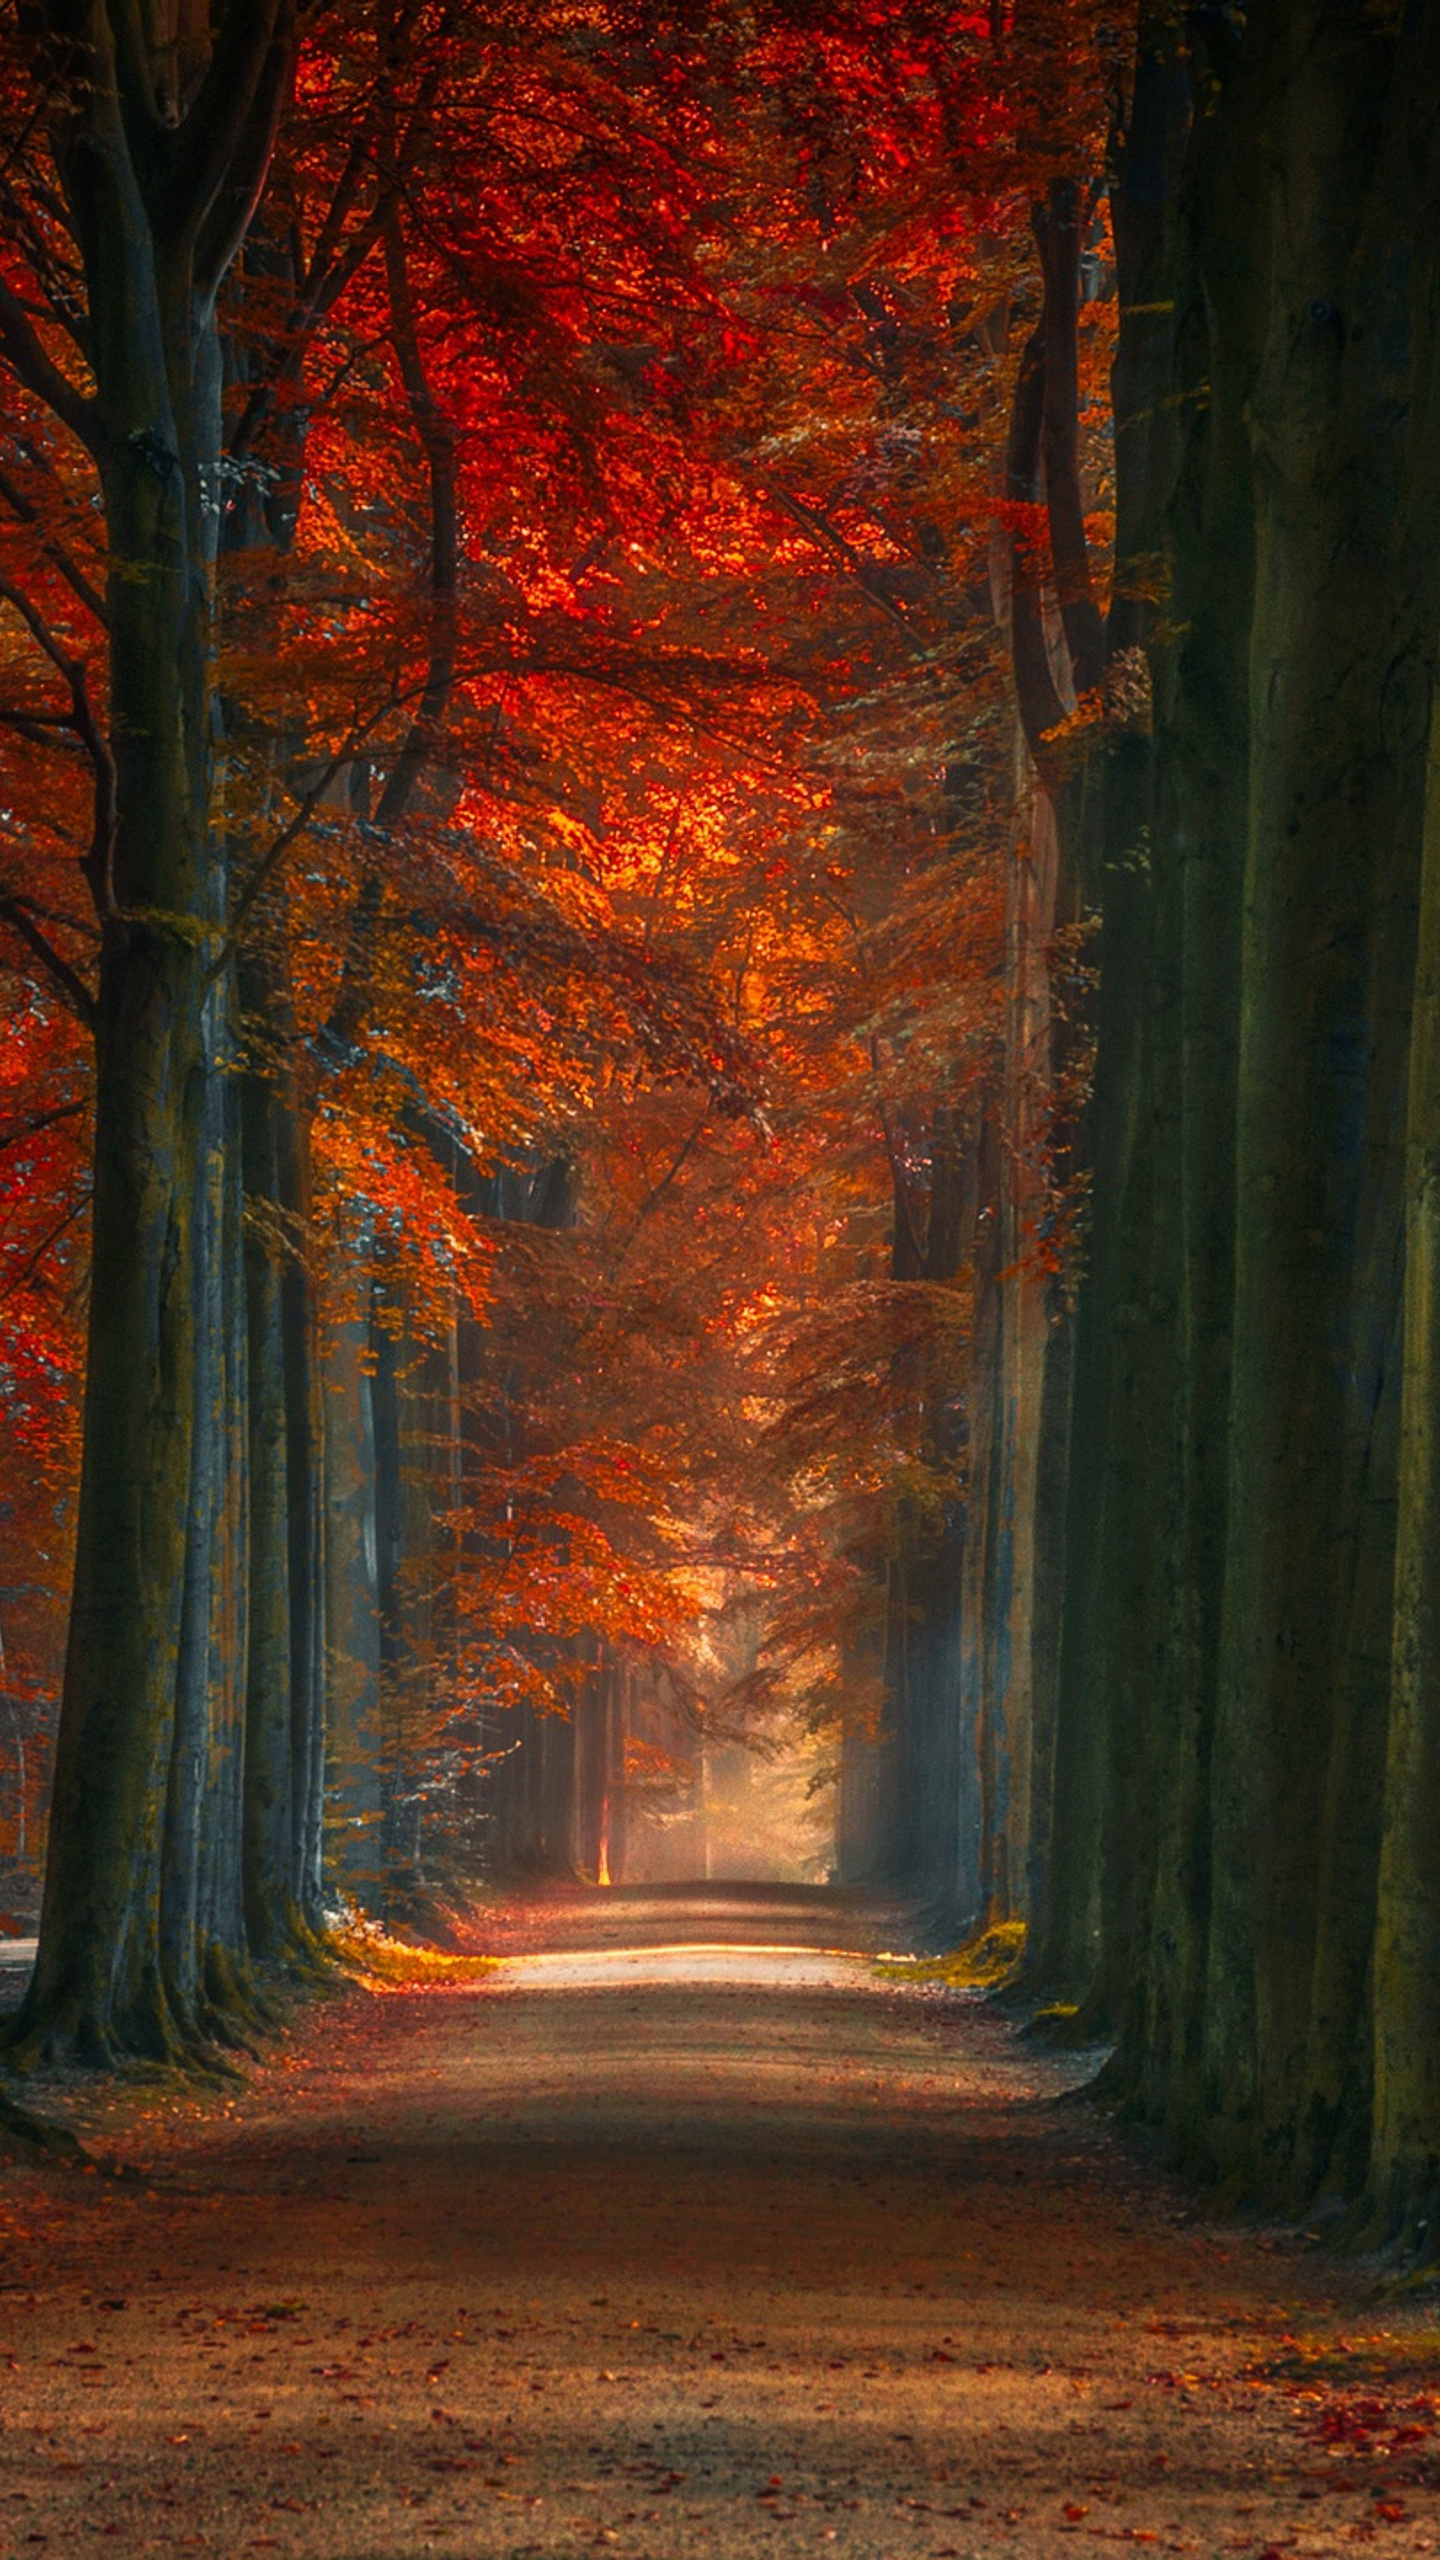
The biggest hurdle in Singapore is light pollution. While finding truly dark skies within the city itself is difficult, venturing slightly outside – perhaps to areas in Malaysia or even Indonesia – can make a huge difference. Look for locations with minimal artificial light, offering an unobstructed view of the celestial sphere. Bonus points if you can find a captivating foreground element, like a scenic hillside or unique landmark to add depth and context to your image. Even a well-placed tree can serve as an interesting anchor.
Gear Up: Essential Equipment
You don't need incredibly expensive equipment to get started, but a few key items are essential:
- Camera: A DSLR or mirrorless camera with manual mode is a must.
- Wide-Angle Lens: This allows you to capture a large portion of the sky, maximizing the visible star trails. A focal length of 14-24mm is a good starting point.
- Tripod: Absolutely crucial! Long exposures require a rock-steady setup.
- Remote Shutter Release (or Intervalometer): This prevents camera shake when triggering the shutter and allows for automated, long-duration shooting.
The Process: Capturing the Dance
Here's the breakdown of how to capture those beautiful trails:
- Set Up: Secure your camera on the tripod and frame your shot.
- Settings: Use manual mode. Start with a wide aperture (low f-number, like f/2.8 or f/4) to let in as much light as possible. ISO 1600-3200 is a common starting point, but adjust based on your location’s darkness.
- Exposure Time: Begin with exposures of 15-30 seconds. Longer exposures will capture more trails, but can also introduce star streaks due to the Earth’s rotation.
- Intervalometer: Set your intervalometer to take photos repeatedly, with a short delay (e.g., 1-2 seconds) between each shot.
- Shoot for Hours: Aim for at least 2-3 hours of continuous shooting for noticeable star trails.
Stacking the Magic: Post-Processing
Once you've collected your images, you'll need to use specialized software (like StarStaX, Sequator, or Photoshop) to “stack” them together. This process aligns and combines the individual frames, creating the illusion of star movement. Experiment with different stacking settings to achieve your desired look. Consider also doing some basic post-processing to adjust brightness, contrast, and color balance.
Star trail photography isn't just about capturing an image; it's about experiencing the vastness of the universe and our place within it. So, grab your gear, find a dark spot, and start chasing starlight!